How to Paint Stucco: Prep, Primer and Paint for Florida Homes
Learn how to paint stucco, from cleaning and crack repair to primer and rolling. Plan your Southwest Florida exterior repaint with Phenomenal Renovation.
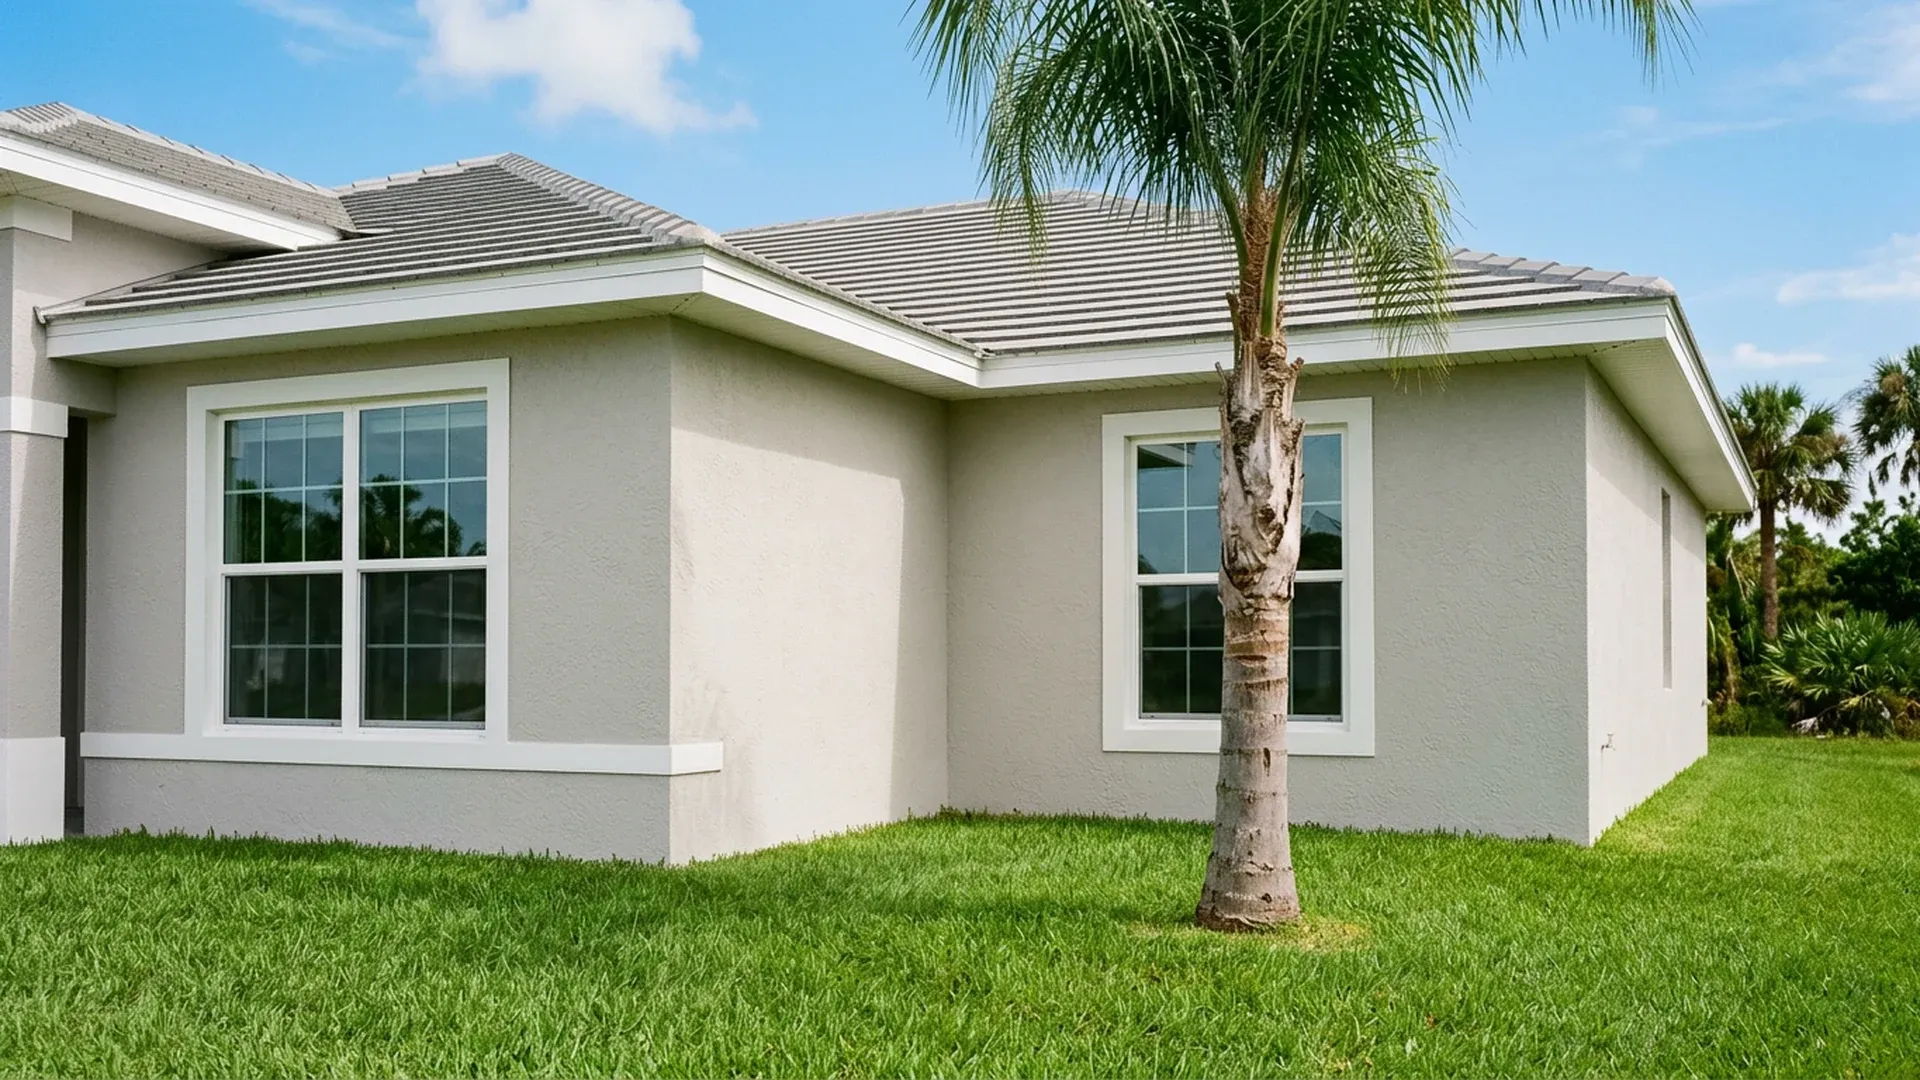
How to Paint Stucco: Start With the Wall, Not the Paint
Learning how to paint stucco starts with a sound, clean, dry surface. Inspect the existing finish, correct moisture problems, clean the texture, repair suitable cracks, and follow a compatible primer and paint system. Then apply the coating evenly into the recesses rather than covering only the raised texture.
For a Southwest Florida home, plan the work around the actual wall conditions and the coating label, not just a sunny forecast. A shaded wall may still be damp when the driveway looks dry. This guide focuses on the prep-to-finish process. For the broader project, see our guide to interior and exterior painting in Southwest Florida.
Step 1: Inspect the Surface and Set Up Safely
Inspect each elevation before deciding how to paint stucco on the whole house. Look for flaking paint, powdery residue, recurring stains, exposed patches, and cracks that continue through previous repairs. Photograph problem areas so you can compare them after cleaning.
Ask a qualified professional to assess loose stucco, widening cracks, or signs of water getting behind the finish. Do not treat a coating as a structural repair. If you cannot identify the wall system, confirm whether it is cement stucco or a synthetic assembly before selecting products.
For older homes, the EPA recommends a lead-safe certified contractor for renovation projects in pre-1978 housing. Resolve that safety question before disturbing old coatings. Arrange safe access without balancing on improvised platforms.
Step 2: Clean the Stucco Without Damaging It
Good stucco surface preparation means removing contamination, not simply making the wall look brighter. Protect nearby surfaces and follow the cleaner's directions for the existing coating. Start with a small test area, using a soft brush where appropriate. If pressure washing is suitable for the wall, avoid an aggressive jet that damages the texture or drives water into openings.
Rinse away cleaner residue and check sheltered areas as well as the sunny side. If chalky powder still transfers to a cloth after cleaning, ask the coating supplier how to prepare that surface before proceeding.
Benjamin Moore's exterior painting guide stresses that the substrate must be fully dry before painting. Do not assume an overnight wait proves readiness. Check the selected product's moisture requirements.
Step 3: Repair Cracks and Match the Texture
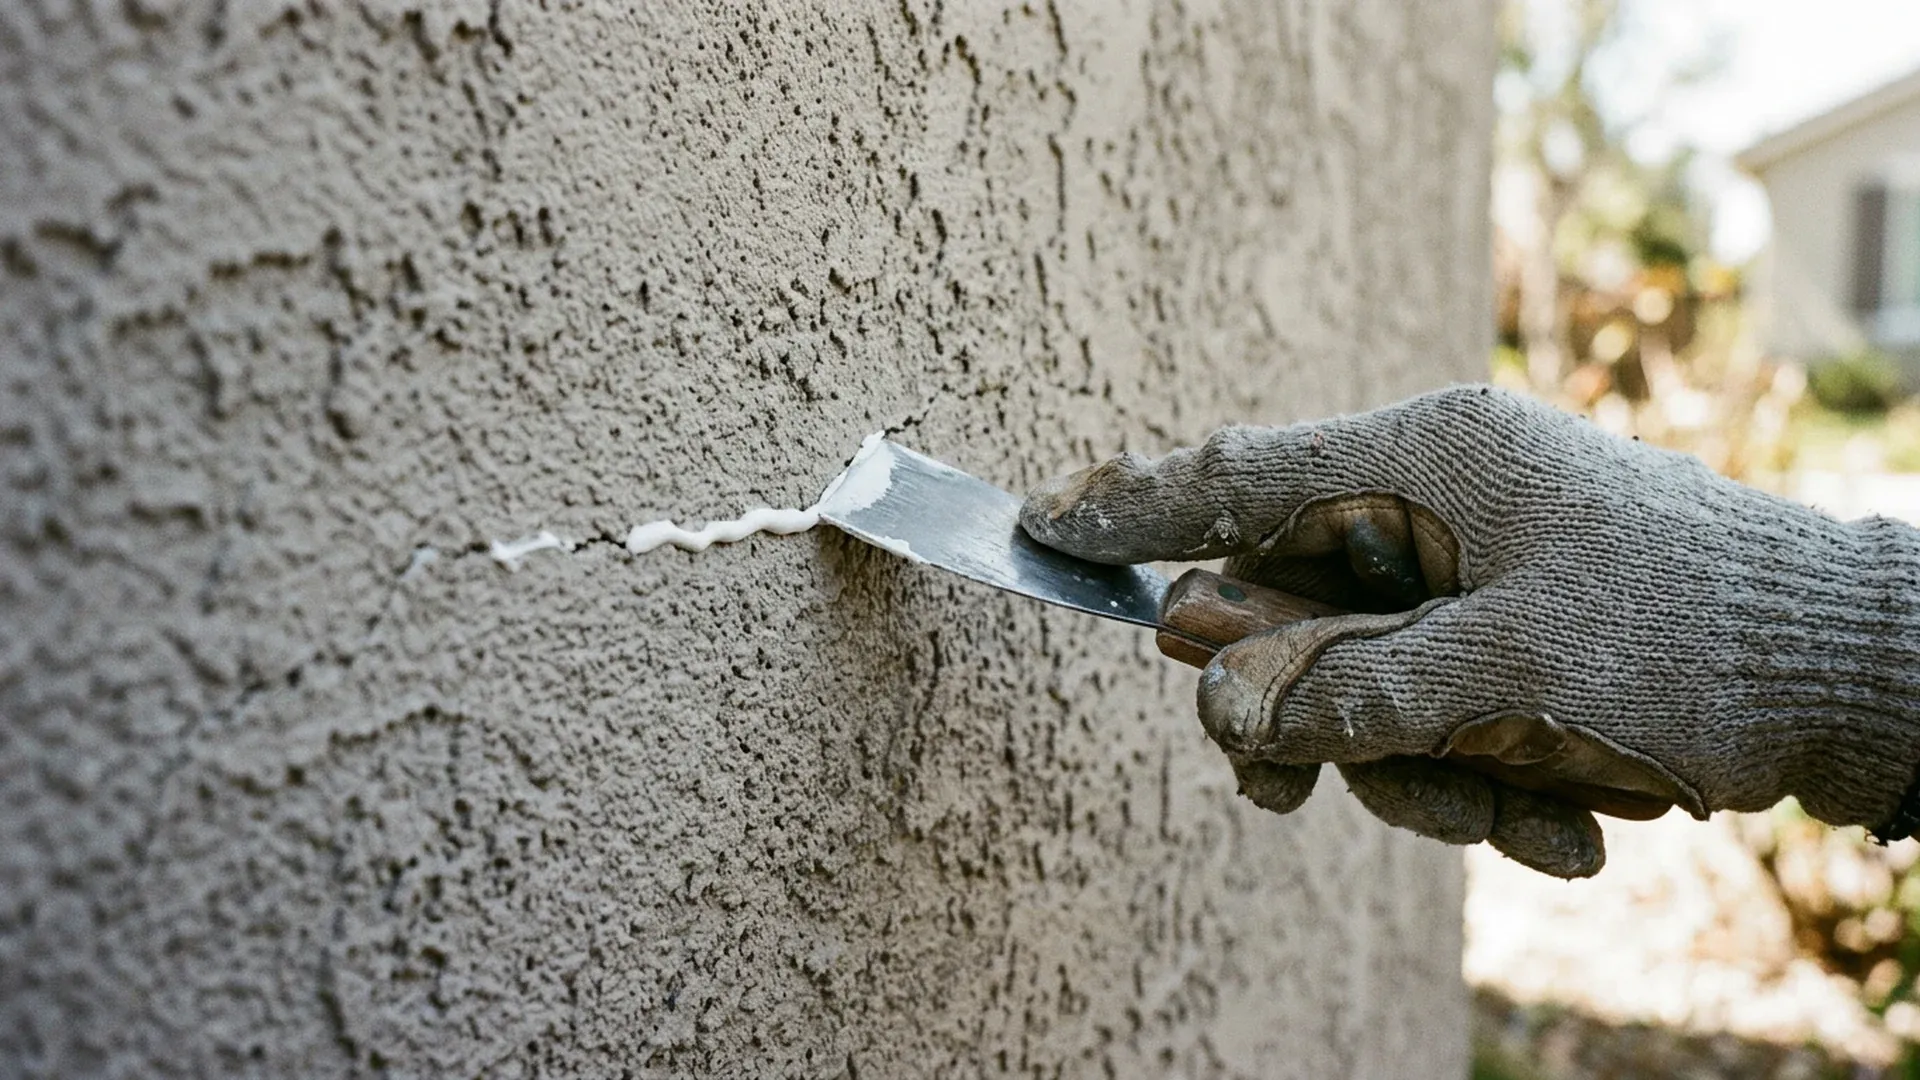
Stucco crack repair should address the defect without leaving a smooth stripe across a rough wall. Benjamin Moore's stucco guide identifies acrylic caulk as an option for minor stucco cracks. Confirm that the specific repair product is paintable and compatible with the proposed coating.
Remove unsound material only after the safety assessment. Apply the repair according to its instructions, and recreate the surrounding texture before it sets. Test a small patch first; a wide smear can remain noticeable after painting.
Stop if the crack is growing, repeatedly reopening, or accompanied by loose material. Those conditions need assessment beyond a cosmetic patch. Follow the repair manufacturer's curing instructions before priming. Do not borrow a drying interval from a different compound.
Step 4: Select a Compatible Masonry Primer or Sealer
The primer decision depends on the wall's condition and the complete coating system. When planning how to paint stucco, tell the supplier whether you have bare masonry, repaired patches, sound existing paint, or persistent chalking. Bring photographs and the old coating information if available.
A masonry primer and a product labeled sealer are not automatically interchangeable. Ask which preparation and primer the proposed topcoat requires for this specific substrate. Do not substitute an unrelated waterproofing product or assume that self-priming paint resolves every surface problem.
For new stucco or fresh cement repairs, follow the coating manufacturer's curing, alkalinity, and moisture requirements. Apply the approved primer at its specified coverage, including textured recesses. Let it become ready for recoating according to the label before moving on.
Step 5: Apply Paint Into the Stucco Texture
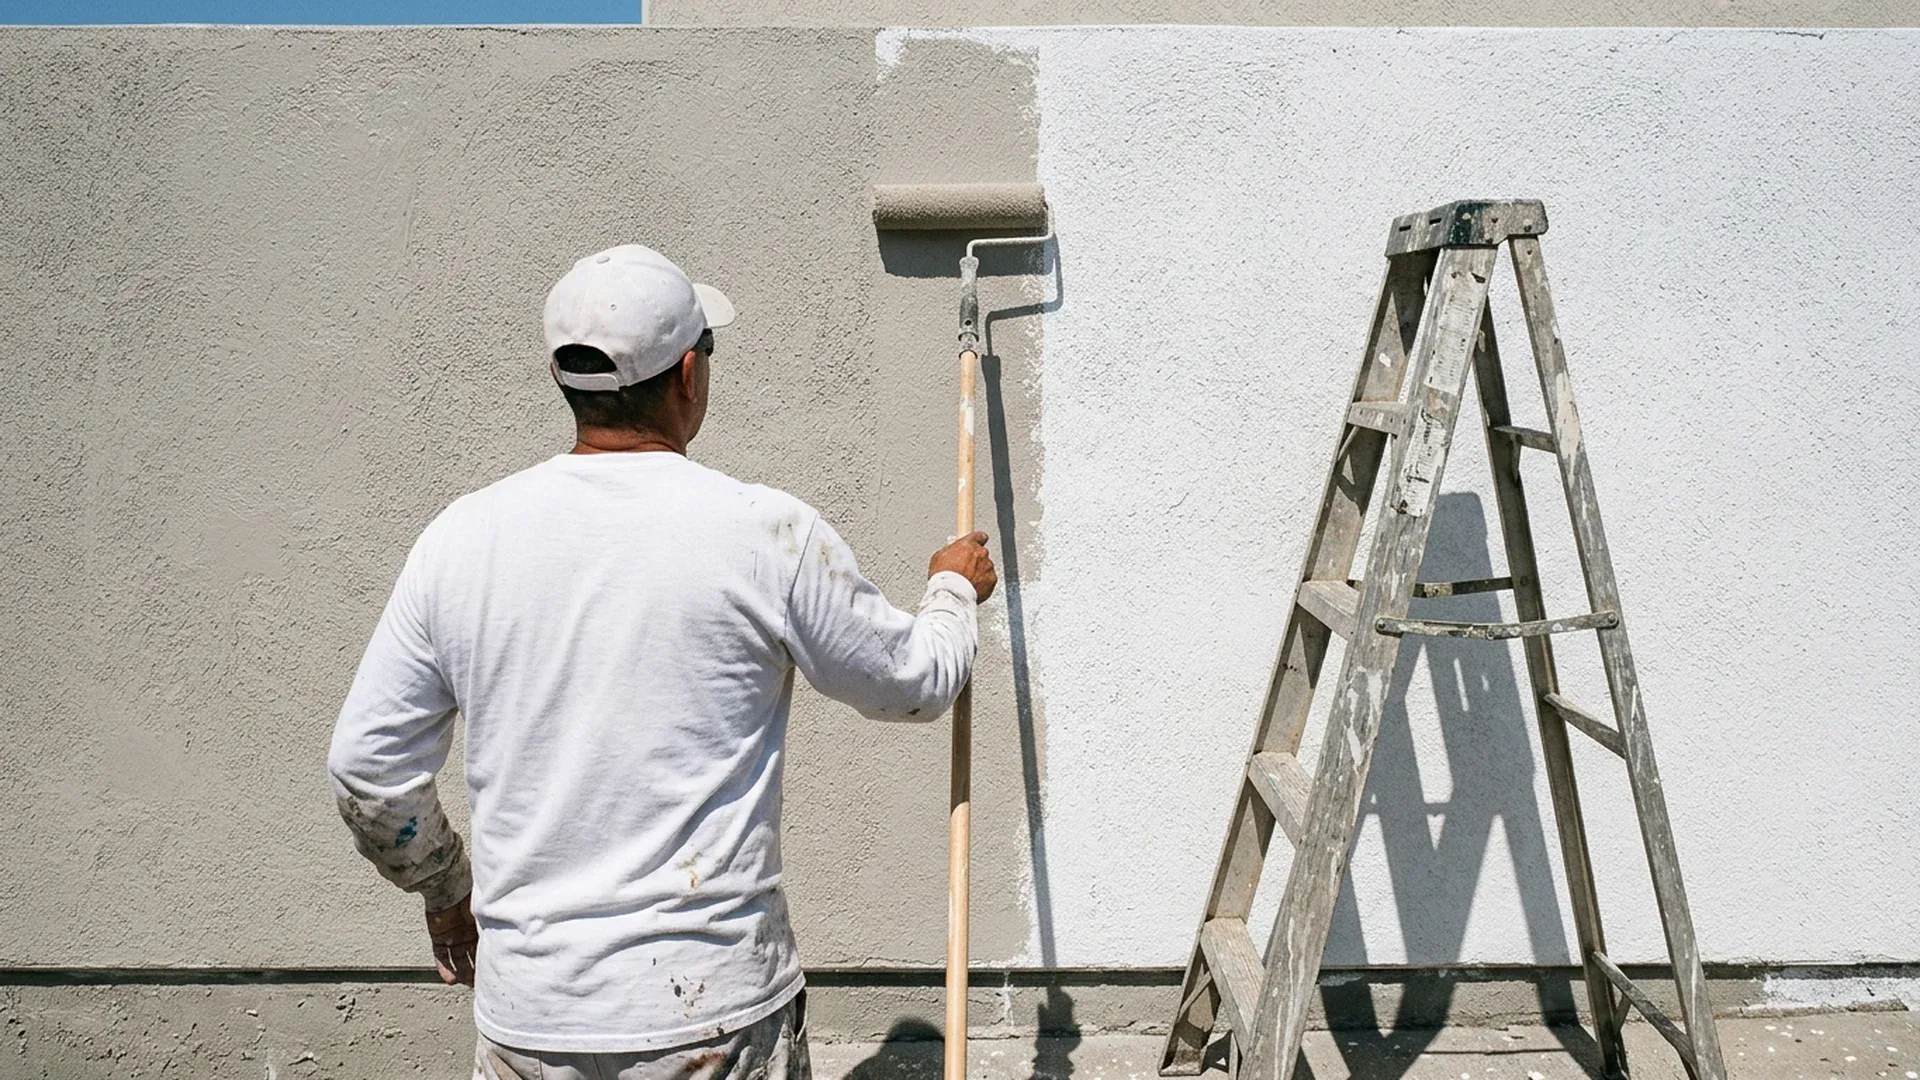
The practical challenge when painting textured stucco is reaching the low spots without overloading the high points. Choose a roller cover suited to the texture and the coating instructions. Use a brush for edges and small recesses that the roller cannot reach cleanly.
Work in manageable sections. Keep the roller supplied with paint rather than pressing a nearly dry cover hard against the wall. Check from an angle as you go, looking for missed pockets and heavy ridges.
If spraying is part of the approved application method, plan for careful masking and back-rolling where the product instructions call for it. How to paint stucco well is not a race to cover the elevation. Follow the specified spreading rate instead of stretching a small amount over too much wall.
Step 6: Respect Recoat Conditions Before the Next Pass
A coat that feels dry at the surface may not be ready for the next application. Read the product's recoat directions and weather restrictions before opening the next container. In Fort Myers, Cape Coral, or Naples, check conditions at the wall as well as the forecast.
Look for dew, damp patches, approaching rain, and direct sun on the work area. If conditions fall outside the label's limits, pause rather than changing the product or thinning it without approval.
Learning how to paint stucco also means separating appearance from application requirements. Follow the specified coat count and film build even if the first pass looks opaque. Recheck repaired areas and recesses during the next coat, using the same controlled application method.
Step 7: Inspect the Finish Before Removing Protection
Inspect the completed surface from close range and from the driveway. Look along the texture for missed recesses, drips, heavy roller edges, and visible repair bands. Check around trim and window returns without blocking drainage details or covering components that should remain unpainted.
Handle touch-ups using the coating manufacturer's directions. Avoid repeatedly working paint that has started to set. Remove masking when the product instructions permit, taking care around fresh edges.
Keep a record of the primer, topcoat, finish, and repair materials used, along with photographs of the prepared wall. That record is useful if a future repair is needed. After learning how to paint stucco, keep watching the underlying wall: recurring staining or reopened cracks deserve investigation, not another quick cover-up.
FAQ: How to Paint Stucco
Can I paint over the existing finish?
Possibly, if the existing coating is sound and compatible with the proposed system. First identify peeling, chalking, contamination, and damp areas. Have uncertain coatings assessed by the supplier or painter. Covering a weak finish with fresh paint does not remove the weak layer underneath it.
Does every stucco wall need the same primer?
No. Bare masonry, repaired areas, and previously painted surfaces can require different preparation and primers. Give the supplier the substrate details and proposed topcoat. Follow the approved system rather than choosing a primer by name alone or assuming one sealer works on every stucco surface.
Should I roll or spray a textured wall?
Use an application method permitted by the selected product. A suitable roller helps work coating into the texture; spraying requires control of overspray and access. If the system calls for back-rolling, include it in the plan. Inspect recesses instead of judging coverage only from a distance.
How long should I wait after washing or patching?
There is no single waiting period for every wall and repair product. Washing, patching, priming, and painting each have their own readiness requirements. Check moisture and curing directions for the materials actually used. A calendar estimate is not a substitute for a dry, properly prepared substrate.
Plan Your Southwest Florida Stucco Repaint
Knowing how to paint stucco helps you ask for the right scope before work begins. Request a plan that identifies cleaning, crack assessment, repair materials, primer selection, and application requirements. Ask which conditions would pause painting and how the prepared surface will be checked.
Phenomenal Renovation lists exterior repaints among its interior and exterior painting services. Call (239) 878-3404 to discuss your home and the condition of its existing finish. Homeowners can also check our Fort Myers service area. Bring photographs of cracks, peeling, and recurring stains so the conversation starts with what the wall needs, not just what the finished surface should look like.
Cristiano Barbosa is the Founder & CEO of Phenomenal Renovation, a family-owned remodeling company serving Fort Myers, Cape Coral, Naples, Bonita Springs, Estero, and LaBelle. With over 20 years of hands-on experience and two generations of construction knowledge behind him, he holds both a Certified Residential Contractor (CRC) license and a Licensed Plumber license, letting his crew handle plumbing and waterproofing in-house instead of outsourcing it, and has led his team through more than 350 successful renovations across Southwest Florida.